Quick Start Guide
For the best experience, please follow these steps to setup your device:
1. Create a LifeQ ID
Go to the User Portal registration URL specified for your pilot and follow the on-screen instructions to register a LifeQ ID and set up your user profile on the LifeQ User Portal
2. Install LifeQ Exchange
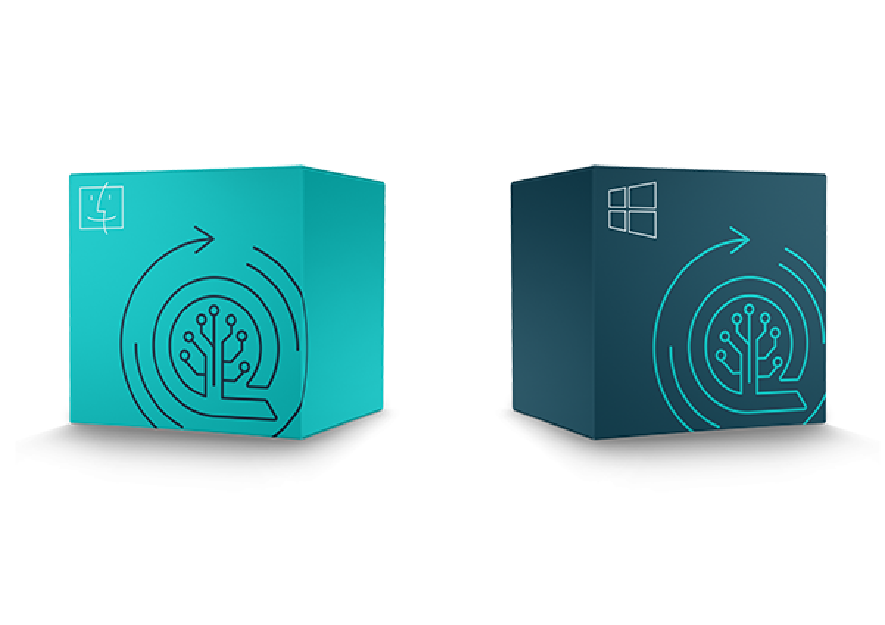
Once logged into the User Portal, navigate to 'LifeQ Exchange App' and select the relevant installer for your operating system.
When the download is finished, click the file to install LifeQ Exchange on your computer
Please Note: Only available for Windows and Mac OS
3. Link Device
In order to link your user profile to the device:
-
Open the LifeQ Exchange App and log in using your User Portal details
-
Power ON the LifeQ enabled vívosmart© HR by pressing the device key briefly
-
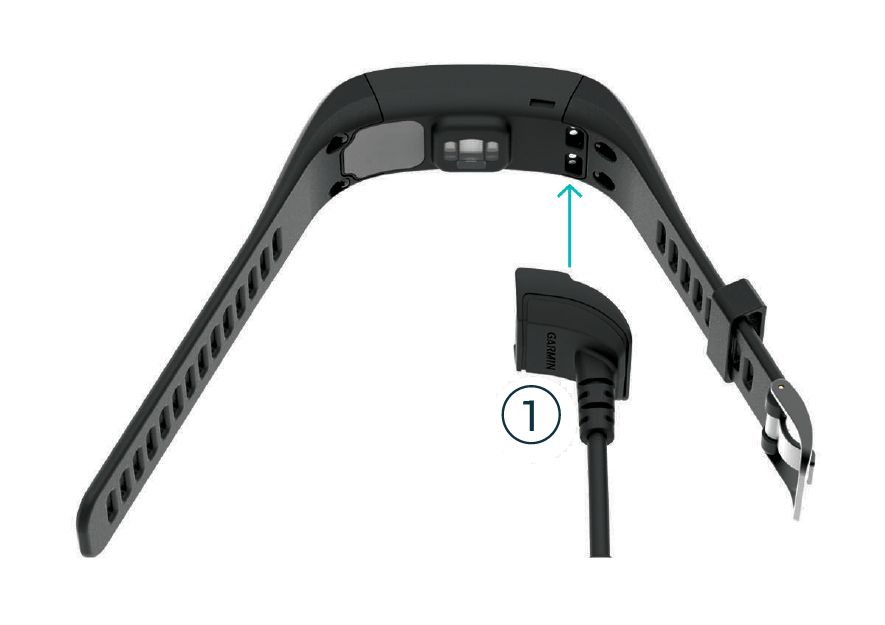
Wait until the Garmin logo disappears from the device screen and then connect the device to your computer via the USB charging cable (1)
-
Follow the instructions on the LifeQ Exchange App to link your user profile to your device
-
Continue charging the device
4. Device Placement
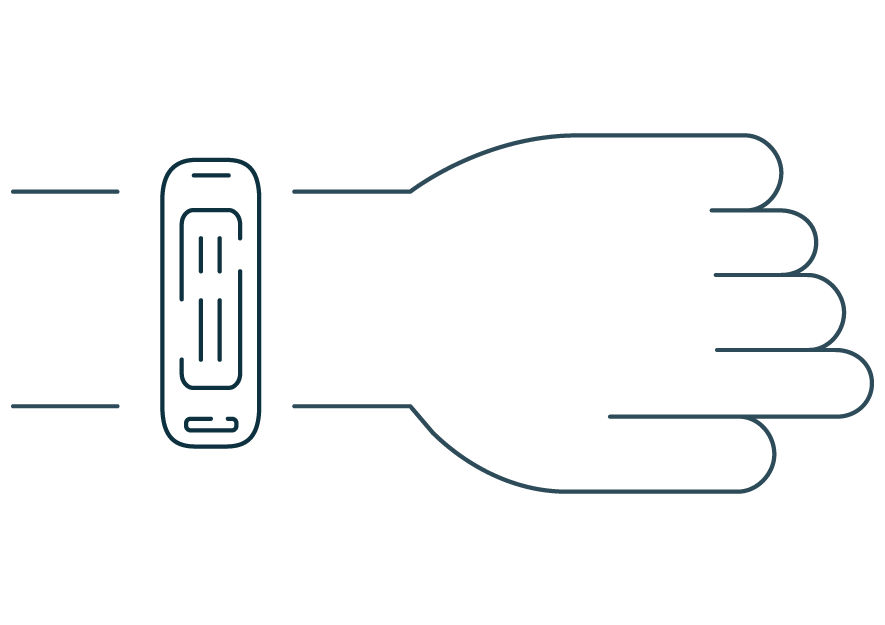
Wear the vívosmart HR above your wrist bone
Please Note: The device should be secure but comfortable, and it should not move around
5. Start Monitoring
If the device is powered on, the heart rate monitor will automatically turn on when the device is placed on your wrist Continue with your daily activities
6. Stop Monitoring
The heart rate monitor will automatically turn off when the device is removed from your wrist
7. Data Upload
- Ensure that the device is powered on
- Open the LifeQ Exchange App on your computer
- Connect the device via the USB charging cable
- Follow the prompts on the LifeQ Exchange App whilst uploading your data
- Once complete, disconnect your device from the charger & reposition on your wrist to restart monitoring

8. Visualize data
Various tools are available through which you can visualize your data
Please contact your Pilot Coordinator for further instructions on accessing your data
